 Cold ShockBase 5 → 8
Why this choice?
Use the attack-stack option; this plan does not chase total 20 here.
냉기 충격 - 진공 폭발 - 대지 진동KR/TW GUIDE BASIS
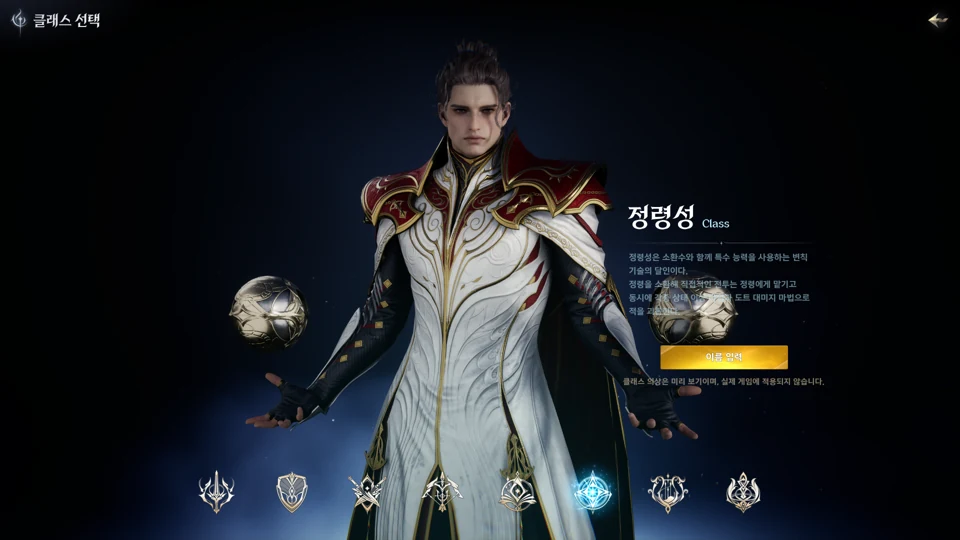
Recommended progression targets · Updated 30 Sep 2026 · Based on KR/TW guides; not Global-tested. Spend within your available point budget.
Follow the core skills first, then the passives below. Keep unlocked utility at rank 1 until you can invest more.
 Spirit StrikeBase 5 → 10
 Spirit ProtectionBase 5 → 10
 Spirit RevitalizationBase 5 → 10
 Mental FocusBase 5 → 10
 CombustionBase 8 → 10 · Total 20
 Elemental FusionBase 8 → 10 · Total 20
 Summon Water SpiritBase 8 → 10
 Summon Wind SpiritBase 8 → 10Spirit StrikeBase 5 → 10Mental FocusBase 5 → 10Spirit RevitalizationBase 5 → 10Spirit ProtectionBase 5 → 10
 Summon Earth SpiritBase 5 → 8
 Dimensional ControlBase 5 → 8
 Joint CurseBase 5 → 8Cold ShockBase 5 → 8
Base ranks use skill points. Total ranks add Daevanion, equipment and Arcana. These are level targets, not point costs; they may not all fit a new character’s budget.
Cold ShockBase 5 → 8Use the attack-stack option; this plan does not chase total 20 here.
냉기 충격 - 진공 폭발 - 대지 진동CombustionBase 8 → 10 · Total 20Core developed target 20 for a third specialization slot.
화염 전소 Summon Fire SpiritBase 1 → 1
Useful for damage and packs. Resummoning also contributes to the class's summon-triggered effects.
소환: 불의 정령Summon Water SpiritBase 8 → 10Use pet activation specialties and finish on Water when MP is limiting.
소환: 물의 정령Joint CurseBase 5 → 8Maintain the curse to support Reverse Flow and reduce pressure; this is separate from the Corrosion Stigma.
협공: 저주 Rapid ScatterBase 1 → 1
A conditional utility choice. The reviewed developed guide deprioritizes it for sustained damage.
연속 난사Summon Earth SpiritBase 5 → 8Use for solo control or an agreed tanking role. Do not disrupt the party tank's positioning unnecessarily.
소환: 땅의 정령Dimensional ControlBase 5 → 8Consume the activation window after summons rather than letting it expire.
공간 지배Summon Wind SpiritBase 8 → 10Wind sustain matters more when questing without a healer.
소환: 바람의 정령 Soul CryBase 1 → 1
Reserve for eligible control situations; uncontrolled fleeing enemies can complicate a pull.
영혼의 절규Elemental FusionBase 8 → 10 · Total 20Spend the four-element state before wasting more stack generation; later target total 20.
원소 융합 Shock ReleaseBase 1 → 1
Keep manually accessible to resume movement or a defensive action.
충격 해제Spirit StrikeBase 5 → 10The first core offensive passive in the reviewed developed guide.
정령 타격Spirit ProtectionBase 5 → 10Take when survival limits progress rather than maximizing damage alone.
정령 보호 Spirit AdventBase 1 → 1
A key reason to keep using summons instead of treating the spirit as a permanent passive pet.
정령 강림 ErosionBase 1 → 1
Supports the damage-over-time ecosystem; invest alongside consistent attack uptime.
침식Spirit RevitalizationBase 5 → 10Supports more frequent summon cycles and pet survival.
정령 회생Mental FocusBase 5 → 10An offensive passive priority; names for bonus-hit stats vary between translations.
정신 집중 Reverse FlowBase 1 → 1
Maintain Joint Curse or another valid periodic effect before relying on this passive.
연속 역류 Spirit CommunionBase 1 → 1
Useful accuracy and incidental sustain; not a guaranteed emergency heal.
정령 교감 Revival ContractBase 1 → 1
A safety investment for dangerous content and PvP.
회생의 계약 Elemental UnificationBase 1 → 1
Spirit skill activation and uptime matter; favor useful summon specializations.
원소 결집 Joint DestructionNot selected
No Shards allocated in this preset. A damage flex. Keep manual control of any charge specialty so it completes properly.
협공: 파멸의 공세 Spirit BenedictionStigma 1 → 5
Learn at rank 1 once unlocked; establish the four-slot kit before raising this Stigma. Core buff before a planned damage window, with useful sustain.
강화: 정령의 가호 Flame BlessingNot selected
No Shards allocated in this preset. Align with frequent attacks and your summoned burst window.
불길의 축복 Summon Ancient SpiritStigma 1 → 5
Learn at rank 1 once unlocked; establish the four-slot kit before raising this Stigma. Use during a sustained targetable window and spend repeated Elemental Fusion activations.
소환: 고대의 정령 Joint CorrosionStigma 1 → 5
Learn at rank 1 once unlocked; establish the four-slot kit before raising this Stigma. Core offensive debuff before pet burst. Distinguish it from Joint Curse and Joint Destruction.
협공: 부식 Kaisinel's AuthorityNot selected
No Shards allocated in this preset. A control-oriented flex, usually behind the four core PvE offensive Stigmas.
카이시넬의 권능 DrainNot selected
No Shards allocated in this preset. Resource/survival flex when sustain is more valuable than another damage option.
흡인 Fear ShriekNot selected
No Shards allocated in this preset. Use for eligible pack control with attention to where enemies flee.
공포의 절규 Curse CloudNot selected
No Shards allocated in this preset. An additional damage option for packs or expanded loadouts.
저주의 구름 Magic RobberyNot selected
No Shards allocated in this preset. Bring for an encounter with removable enemy buffs; this utility is not inherently PvP-only.
마법 강탈 Magic BlockNot selected
No Shards allocated in this preset. A situational control choice against eligible targets.
마법 차단 Assault FearNot selected
No Shards allocated in this preset. Situational crowd pressure rather than a core boss damage slot.
강습 공포 Command: SubstituteStigma 1 → 5
Learn at rank 1 once unlocked; establish the four-slot kit before raising this Stigma. A real PvE defensive option. Keep the chosen spirit alive and in range for the transfer to function.
명령: 대역Use Wind for recovery, Water for MP and Earth threat for solo pulls. Command: Substitute replaces Flame Blessing; keep a healthy spirit within 25 m.
Learn your selected Stigmas at 1, build useful rank-5 foundations, then pursue the later targets. Mastery option slots are at total 8, 12 and 20; total 16 adds an option.
Level allocations are editorial progression goals, not a fixed-budget calculator or a DPS ranking. Advanced milestones follow the reviewed class guide. The NC progression video was checked through its auto-generated transcript on 30 September 2026.